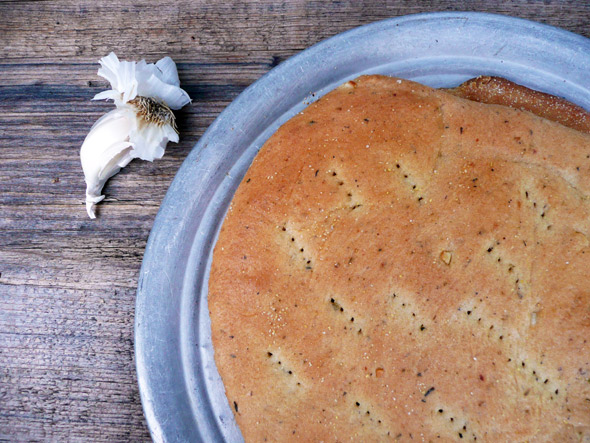
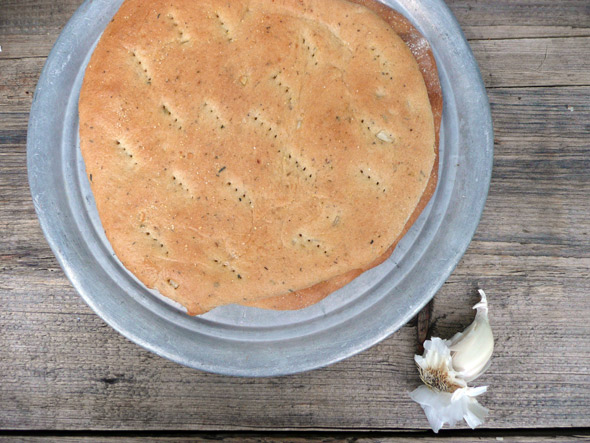
This is another one of those recipes I’ve been making for years. It’s a Boboli-style pizza crust that is delicious plain … or topped with just about anything you like to put on a pizza. My son loves to eat this garlicky Italian “flatbread” plain, with no toppings. Sometimes my daughter and I will slice one into wedges and dip it in olive oil. I like to have a few in the freezer ready to top whenever we need a quick meal. This time I made them for my daughter’s birthday party. We thought the girls would enjoy making their own pizzas. It was a great hit, and so fun to see what each girl put on her pizza. One girl took a big sniff of the crust, exclaimed she could eat a whole one just like this, and took a few bites out of it before she put the toppings on her pizza. It was really cute.
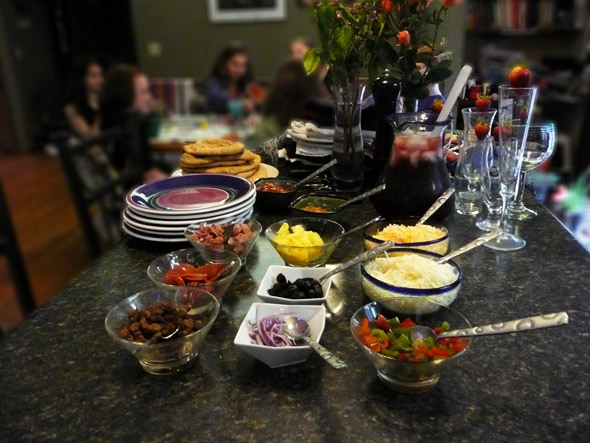
Here’s the party setup with all the toppings set out. There’s just one problem with this setup: not enough meat. I use so many vegies on my pizzas and just a tiny bit of meat, I forget how much meat other people like on their pizza. We ran out of sausage and pepperoni. (Luckily I had some more in the freezer!)

Italian Garlic (Boboli-Style) Pizza Crust
Adapted from Food.com. Makes 3 normal-size crusts or 6 individual-size crusts.
- 2 cloves garlic, peeled & chopped fine
- 2 Tablespoons freshly grated parmesan cheese
- 1 teaspoon sea salt
- 1 Tablespoon sugar
- 3 cups bread flour
- 1 1/2 cups whole wheat flour
- 2 teaspoons Italian seasoning
- 3 teaspoons active dry yeast
- 1 1/2 cups water (plus extra if needed)
- 3 tablespoons olive oil
Directions:
- Put the ingredients in the bread machine in the order listed. (It doesn’t have to be in exact order, just make sure to bury the garlic under the flour.)
- Put the bread machine on the dough setting and press start. A few minutes after starting, check the dough. If it’s not sticking together properly, add a little extra water, a tablespoon at a time, until the dough starts to form into a ball.
- When the dough cycle is complete, divide the dough into several equal parts. I’m making individual crusts for a teenage birthday party, so I divided mine into 6 parts. This makes a pretty good-sized individual crust. For smaller ones, divide into 8 pieces. For normal-sized pizza, divide into 3 parts.
- Shape each piece of dough into a disc shape, cover and let rest for a few minutes.
- One at a time (keeping the rest of the pieces covered) on a clean surface dusted with cornmeal, with a rolling pin, roll each piece of the dough into a circle. Mine turned out to be about 8 inches in diameter.
- If you have a pizza stone, set each round on a flat surface dusted with cornmeal that will allow you to easily slide the crust onto the stone. I used the back of my cookie sheets and a couple cutting boards. If not, put the pizza crusts on cookie sheets or pizza pans. Spray the crusts with cooking spray, cover with a clean kitchen towel and let rise until the crusts are as thick as you want them. I wasn’t sure how thick the girls would want their crusts so I went for a medium rise; I think it took about 30 minutes.
- Preheat the oven to 425, prick the crusts with a fork to keep them from puffing up in awkward spots, and bake until the crusts are golden brown. You can put these crusts in a bag and freeze them for future meals. They will keep well for a month or two.

This recipe was shared at Totally Tasty Tuesdays, Frugal Days, Sustainable Ways, Thursday’s Treasures, Mop it Up Mondays and Katherine Martinelli’s Bread Bloghop.


11 comments
This crust looks great! I love the idea of freezing them. You could pull together dinner in no time on a busy night!
Exactly! We are so busy on weeknights that I often need something really quick I can throw together in a few minutes. Since I work from home, they come in handy for a quick lunch on busy workdays too.
these look wonderful Ann..from Sherron at Simply Gourmet Photography
Hi Sherron! Thank you so much 🙂
LOVE Boboli pizza! What a great post Ann 🙂
xoxo,
~M
Thanks Melissa! It’s one of my favorite pizza crusts.
Parmesan, garlic and italian seasoning! I’m in!
I love all the flavors in this Ann, I will be making it over the weekend
Happy belated birthday to your daughter
Thank you Sawsan! Enjoy 🙂
I love these Ann! My first thought was..I want to eat them, just as they are! I know my oldest would! I’m going to have to make these and freeze them also. ;D Thank you for sharing on Thursday’s Treasures Week 32. I’ll see you again sweetie! <3 and hugs!
they are great to eat without toppings too! thanks for hosting Thursday’s Treasures Debi! 🙂
Oh and, Belated Happy Birthday to your darlin’ daughter! <3 and hugs!