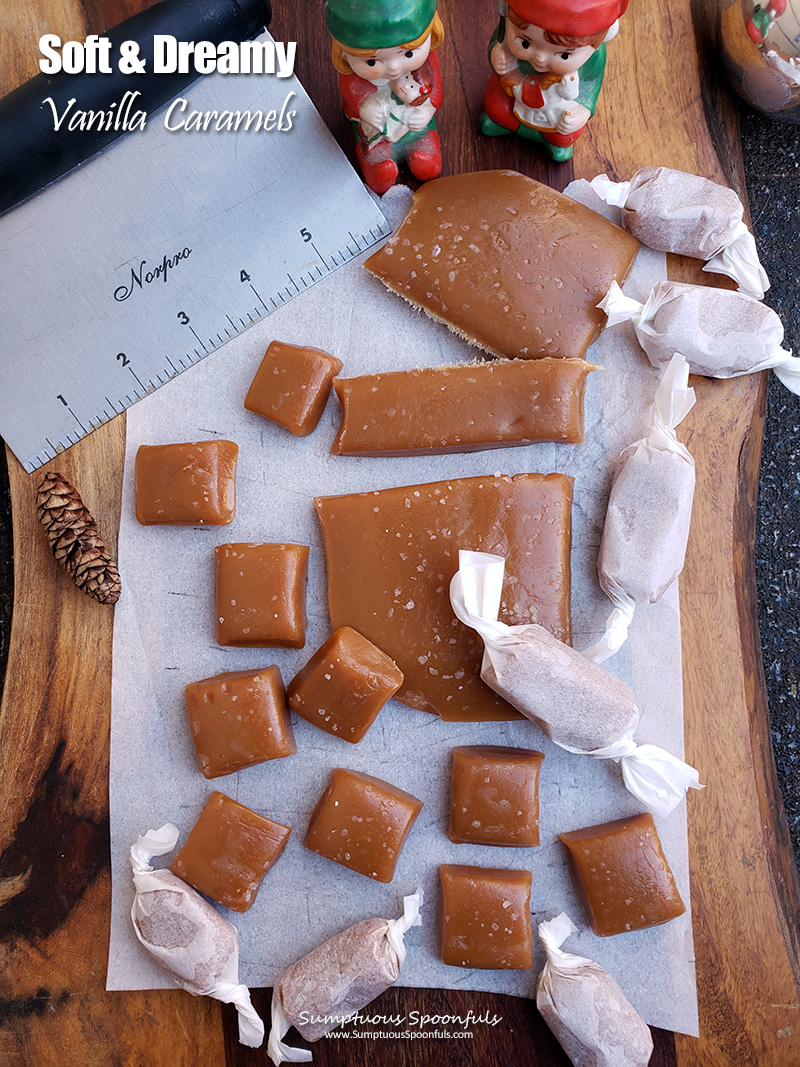
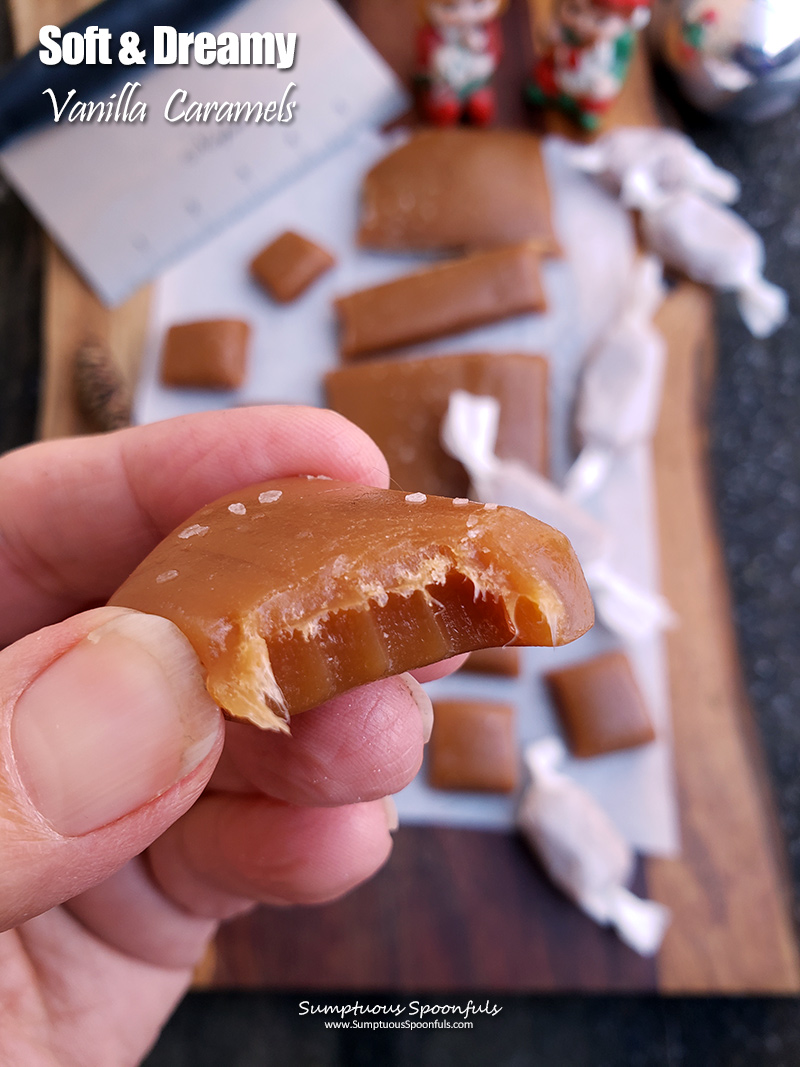
Forget the commercial caramels, these homemade soft creamy vanilla caramels are the stuff dreams are made of! For all the caramel lovers on your list this year, take a little time to create them a masterpiece they will definitely appreciate.
In case you’ve been intimidated by homemade caramel recipes in the past, I’m with you. Years ago I attempted to make homemade caramels and the results were NOT good. But THESE caramels, oh my, these homemade caramels turned out absolutely perfect on the first try! With a nice soft chew and the perfect buttery caramel flavor, I fell in love at first bite.
Though I didn’t use her recipe because I didn’t have the ingredients on hand, it was Southern with a Twist who inspired me to try making caramels and I’m SO glad she did. She said they were so easy to make and that made me think well, if she says they’re easy, then I should be able to handle it!
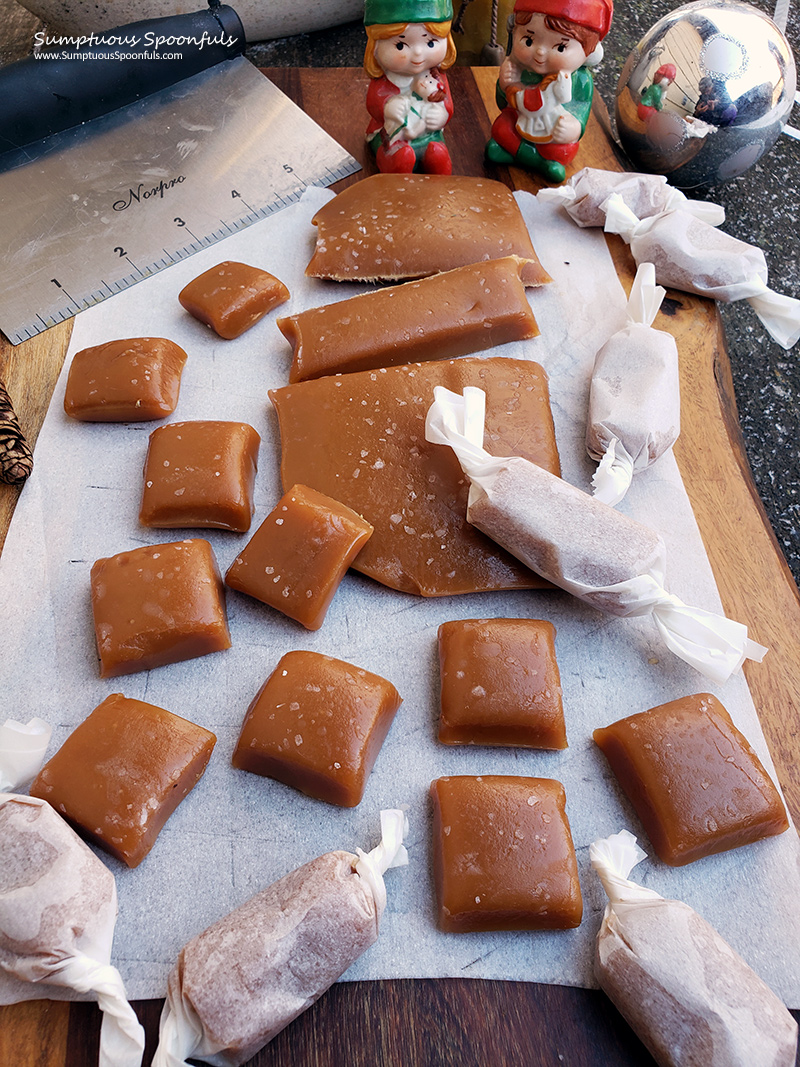
Just gaze upon that creamy, dreamy deliciousness! I know, homemade caramels might sound complicated or hard. Trust me, it might take a couple trials and a little tweaking, but if I can do it, you can too. I’ll step you through it.
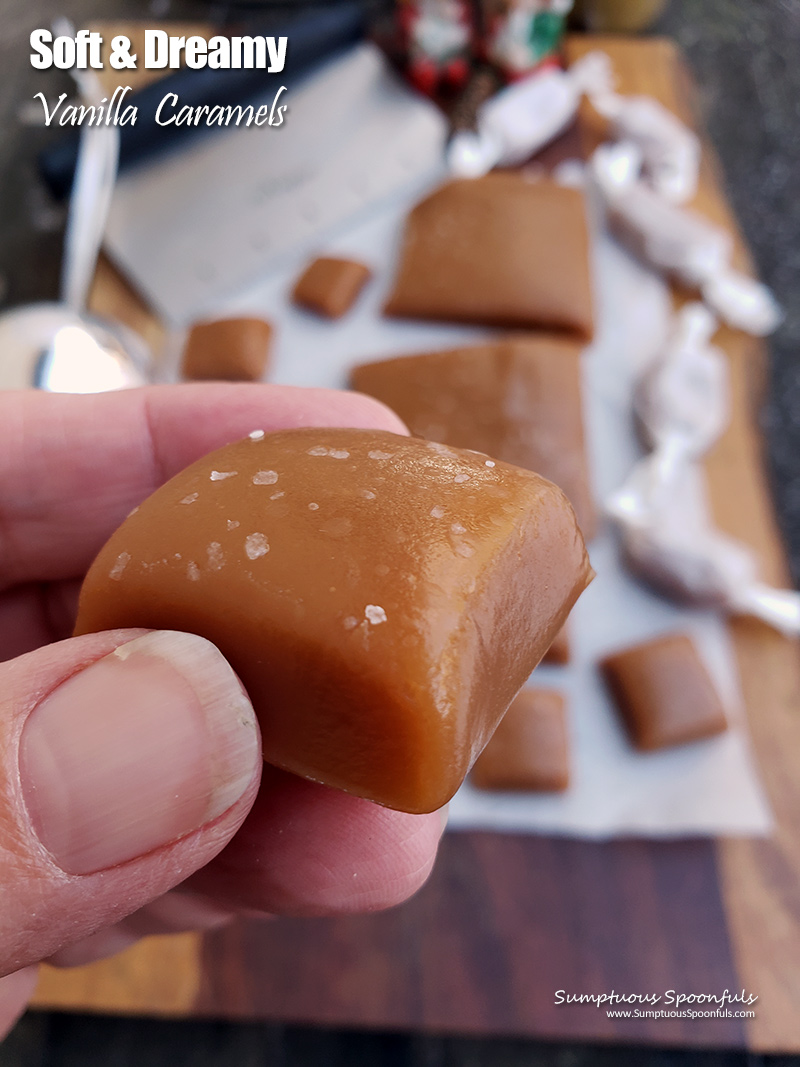
Do I need a candy thermometer to make homemade caramels?
To be honest, a candy thermometer definitely helps, but it’s not necessary. Our grandmothers didn’t have candy thermometers and they did just fine. The Stay at Home Chef offers this advice:
You can determine if your caramel is ready the old fashioned way. Fill a drinking glass or bowl with cold water. Add in just a drop of the caramel from the pan on the stove. For the soft-ball stage, the caramel should form a small round ball in the cold water. When it is removed from the water, the caramel should flatten.
Not so hard, right? Of course, a good candy thermometer is a great tool. I do have a candy thermometer, but mine isn’t great. If you have one you love, please leave me a comment! My candy thermometer overheats and shuts down when I attach it to the pot. Can you believe that? A candy thermometer that can’t handle the heat? I need a new candy thermometer!
But still my wimpy candy thermometer did the job. I just had to hold it with my hand down low enough so the tip was submerged but high enough so the tip didn’t touch the bottom. You can get a basic candy thermometer for under $10. What’s stopping you? If you’ve always wanted to make homemade caramels (like me!), take the plunge and just DO it.
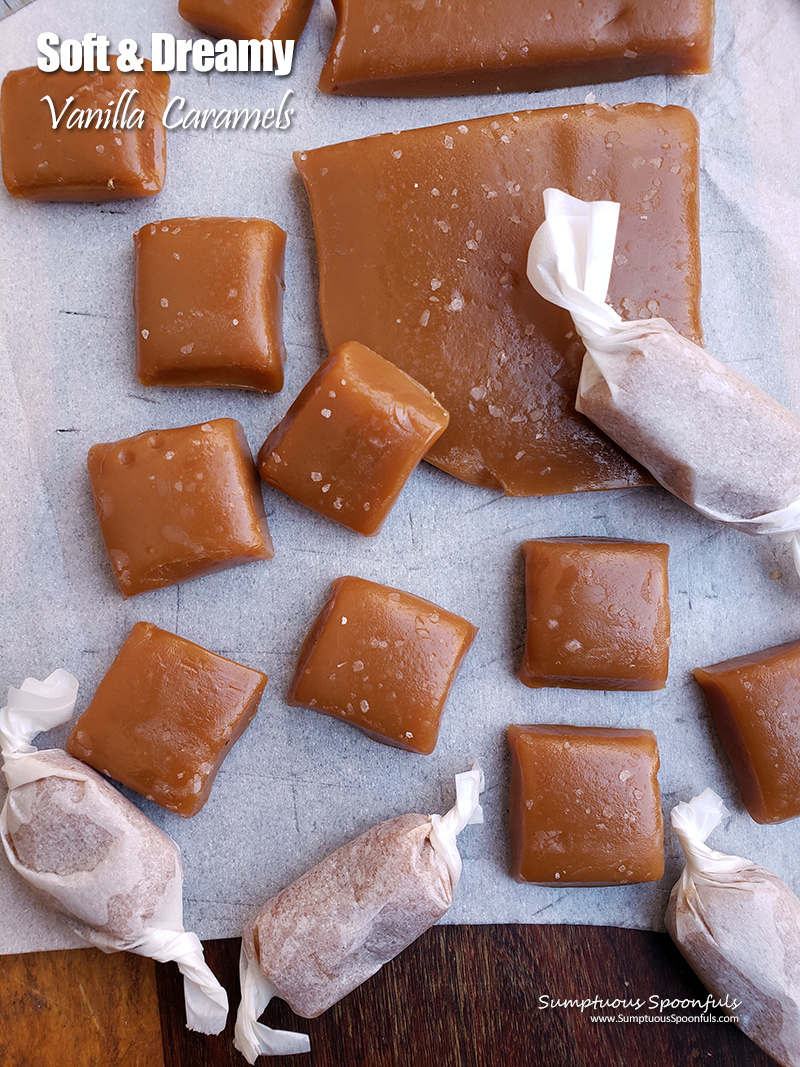
How can I use Homemade Caramels?
You don’t have to wrap up your homemade caramels individually. Use your dreamy homemade caramels for yes, even more creative confections:
- Make homemade turtles by melting caramels, adding nuts, then form into mounds and cool. Drizzle with melted chocolate for the turtle “shell”. Stick in pecan bits for turtle “feet”.
- Caramel Apples! Melt the caramels, stick a popsicle stick into the center of an apple and dip it down into the caramel. Set on a tray lined with waxed paper or parchment paper to cool. To make your caramel apples extra special, you can drizzle with chocolate, add nuts, sprinkles, coconut, etc.
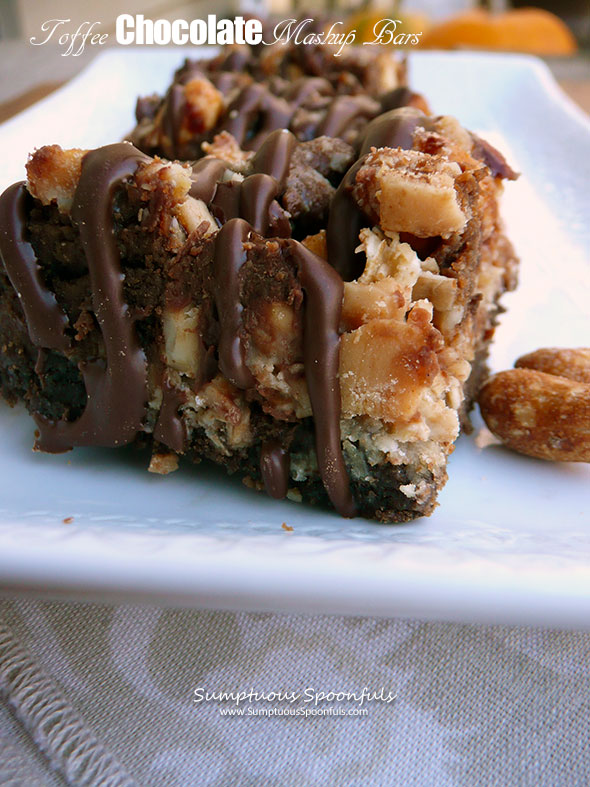
- Add bits of caramel to 7-layer magic bars
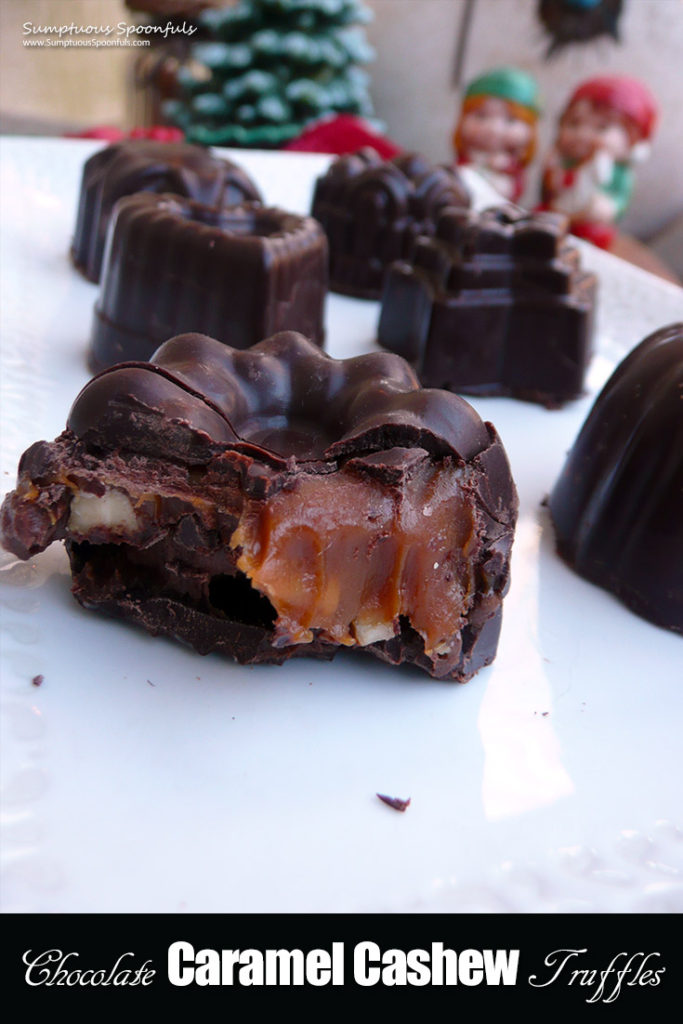
- Chocolate Caramel Cashew Truffles are the bomb
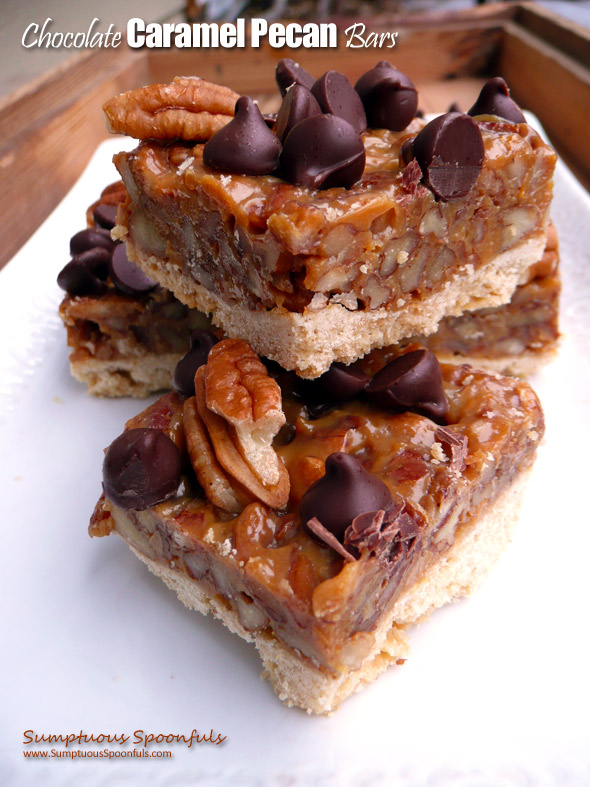
- Chocolate Caramel Pecan Bars – a shortbread crust with caramel and lots of pecans, topped with chocolate chips. Perfect for the pecan pie lovers and so much easier to make!
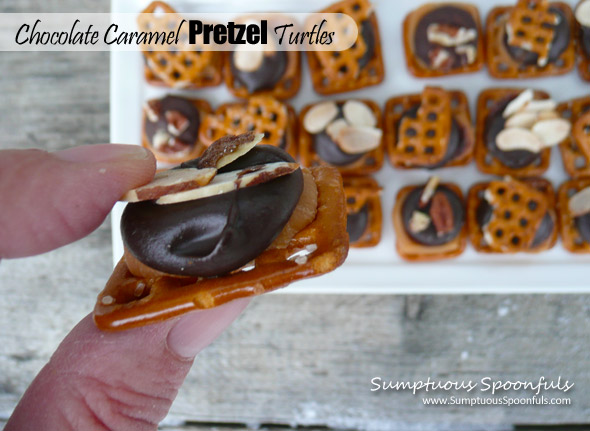
- Chocolate Caramel Pretzel Turtles! Add a salty pretzel crunch, nuts and chocolate to your creamy caramels in a cute, snackable form.
Can I use parchment paper for wrapping homemade caramels?
Most recipes tell you to use wax paper for wrapping your caramels, but you can use parchment paper as well! You just need something that the caramels will not stick to.
Recipe adapted slightly from The Stay at Home Chef
Print
Soft & Dreamy Vanilla Caramels
- Prep Time: 10 min
- Cook Time: 15 – 20 min
- Total Time: 30 min
- Yield: 80 – 120 caramels 1x
- Category: Candy
- Method: Stovetop
- Cuisine: American
- Diet: Gluten Free
Ingredients
- 1 cup butter (2 sticks)
- 1 14-oz. can sweetened condensed milk
- 1 cup light corn syrup
- 2 cups brown sugar
- 2 – 4 teaspoons real vanilla extract
- 1/2 teaspoon salt
- Flaky sea salt (fleur de sel), for the top
Instructions
- Line a 9 x 13 inch pan with parchment paper. Set aside.
- Melt the butter in a large saucepan or soup pot over medium heat. Add the condensed milk, corn syrup, and brown sugar. Use a silicon scraper/spatula to stir the mixture together, scraping the sides and bottom regularly.
- Cook until boiling, then continue cooking over medium heat, stirring frequently, until the caramel reaches the softball stage. If using a candy thermometer, this means the temperature will be from 235 to 245 F. Higher elevations should be closer to 235 and lower elevations should be closer to 245. I’m at a lower elevation, so I went for 242 F.
- Remove from heat and stir in the vanilla and 1/2 teaspoon salt. Carefully pour into the prepared pan.
- Let cool slightly, then sprinkle with flaky sea salt. When completely cool, lift the caramels from the pan, remove the parchment paper from the bottom and set on a cutting surface.
- If desired, use a knife or cutting tool to cut into 1 inch squares, then wrap the caramels in waxed paper or parchment paper.
Notes
© Copyright 2021, Sumptuous Spoonfuls. All images & content are copyright protected. Please do not use my images without prior permission. If you want to publish any of my images, please ask first. If you want to republish this recipe as your own, please re-write the recipe in your own words or link back to this post for the recipe.
Keywords: Caramels, Butter, Brown sugar, Vanilla

1 comment
[…] Well, this year I’m trying my best not to go TOO overboard. I started with my soft, dreamy homemade vanilla caramels and my cinnamon roasted almonds. I wanted to play with the caramels and THIS is how I decided to […]